Riddle me this: What food is gluten-free, vegan, Paleo, GAPS, vegetarian and kid-approved? Read on …
Dear scientist chefs,
A kraut by any other name would be as sauer! Kimchi, kraut, cortido, sour cabbage, tsukemono, atsara and pickles are just a few of the names you’ll find around the world for the sour, lactic-acid-fermented vegetables that virtually every culture knows and loves. Every combination under the sun – with spices, onions, peppers, mixed vegetables, herbs, wild weeds, boiled eggs (what?!), fruits, chips of bark and probably the occasional unfortunate cricket – can be found as you travel from home to home, country to country. Eastern Europeans favor dried fruit, caraway seeds. Warmer climates tend towards spicier, peppery blends. Studying the trends in different regions, you can find the logic in it; dried fruit is available in Eastern European climates, where it grows fresh throughout the year. Spiced-up krauts are less inclined to mold, and in hot climates ferments lean towards mold very quickly. Isn’t it funny how natural food culture, separated from the supermarket mentality, really suits the region?
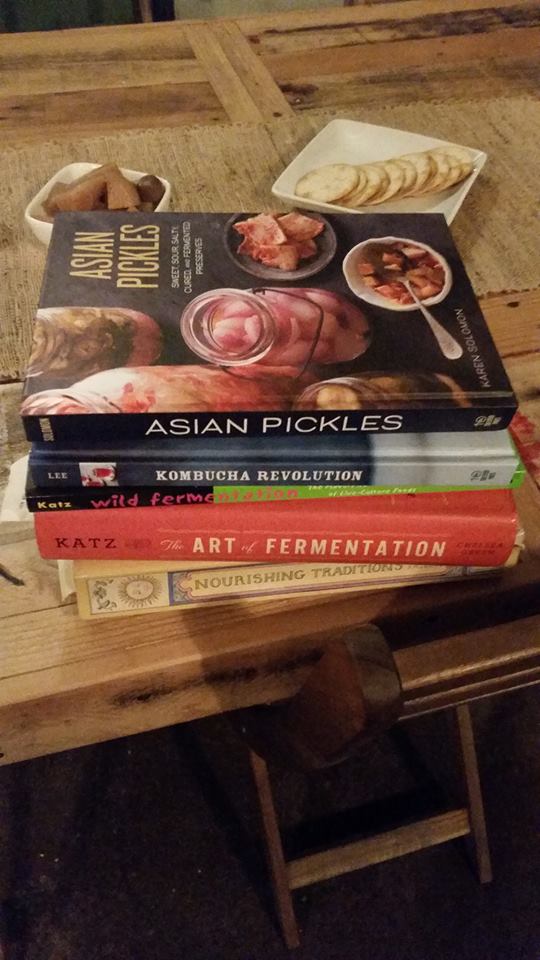
A few of my favorite fermenting books
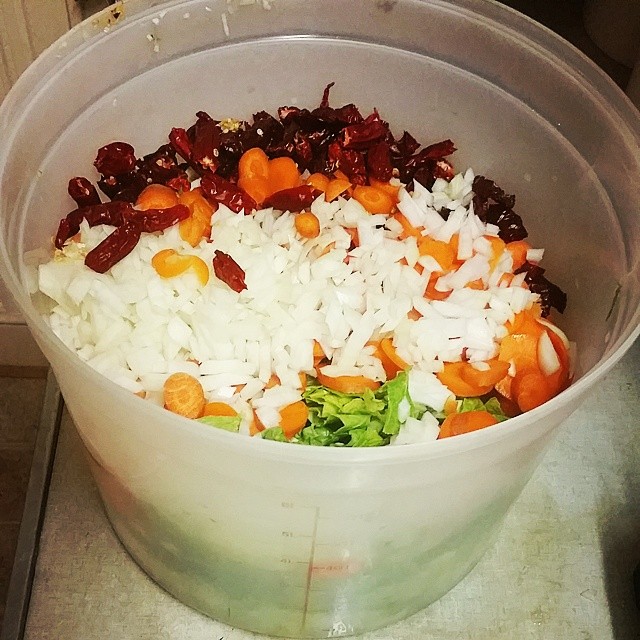
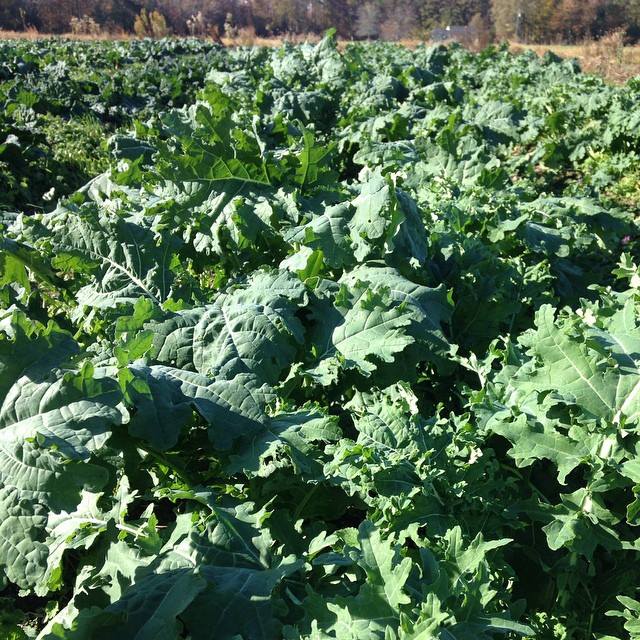
Out here on the farm, we make our kraut by pretty much dumping in everything we have on hand at the moment! We held another rollicking kraut and kimchi food lab, where the class chopped up four monstrous boxes of cabbage, as well as black Russian kale and a case of fresh-picked bok choy. We threw the chopped cabbage into tubs and salted it in layers, and pounded it with a wooden rolling pin by turns until the juices leaked and the cabbage was thoroughly bruised on every side.
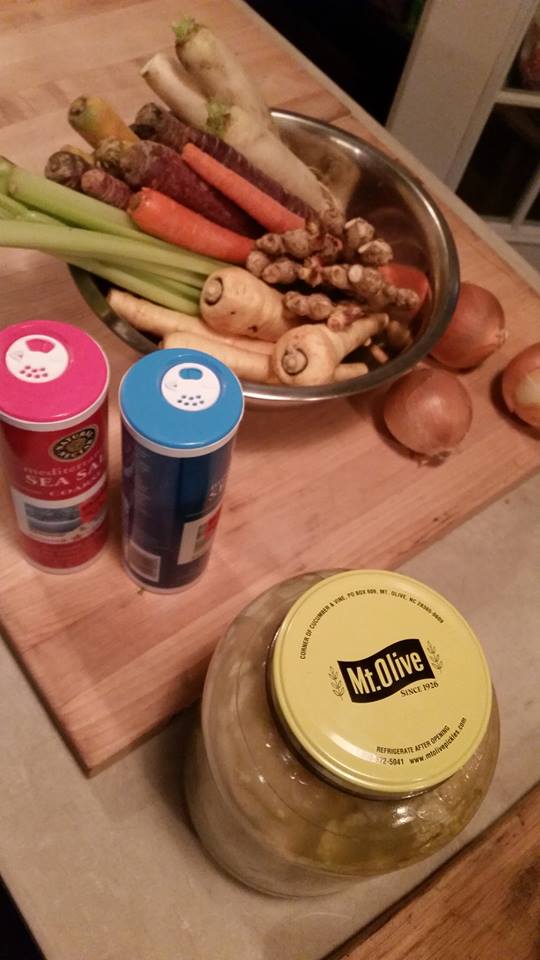
All the pounded, salted greens went into a huge, ten-gallon crock, and then the students set to work chopping up their unique flavor choices. Everybody was making their own delicious jar of kraut, or kimchi, or whatever you want to call it – by this stage, no true name really applied because we weren’t following any rules! White turnips, black radishes, peeled and shredded gingerroot, red and green apples, yellow onions, habanero and Carmen peppers, lacinato kale, celery, rainbow carrots, red radishes, daikon radishes and garlic were all chopped by students and their selections were mixed by handfuls in their individual kraut bowls. Then, everybody shoveled scoops of the bruised, dripping kraut into their bowls and hand-mixed it with the vegetables they had chosen, before pressing it into quart jars, labeling and capping them.

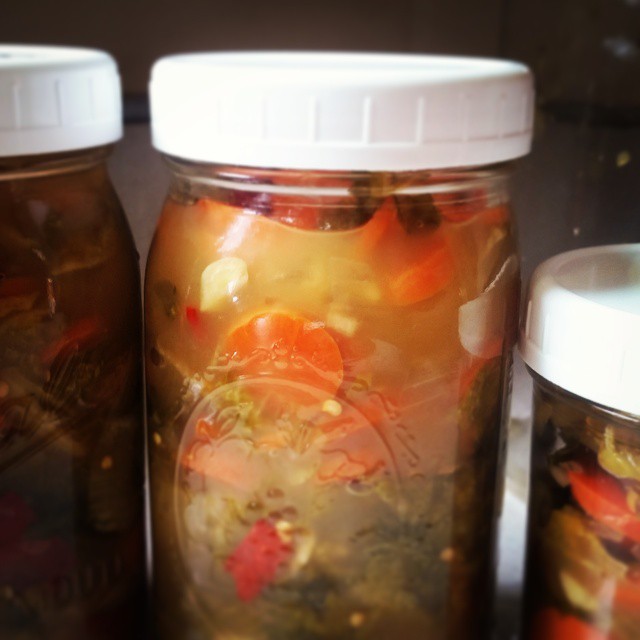
A small batch of kimchi I prepared back in June; we enjoyed eating it on fresh bread, with slabs of cold butter, during class.
These stuffed quart jars will sit on the counters in their homes, hopefully in a rimmed baking sheet or something to catch the juice that will surely leak out! Every day, for a few days or even a week, they’ll release the lid, letting out some of the built-up gases escape. Those jars hiss like a bottle of homemade kombucha when you pop the top! After a few days of this, the jars can safely sit – with only the occasional lid check – until the substrate inside is fully soured to the chef’s taste. How do you know if your kraut isn’t done fermenting? It will taste like salty cabbage! How do you know if it’s fermented enough? It tastes as sour or tart as you like it to! Then, the home cook will eat it and/or move that jar to the fridge, where bacterial activity will slow to incredibly low rates. Yes, it will keep fermenting in the fridge – but very slowly! It can take months and months for marked flavor change to develop.
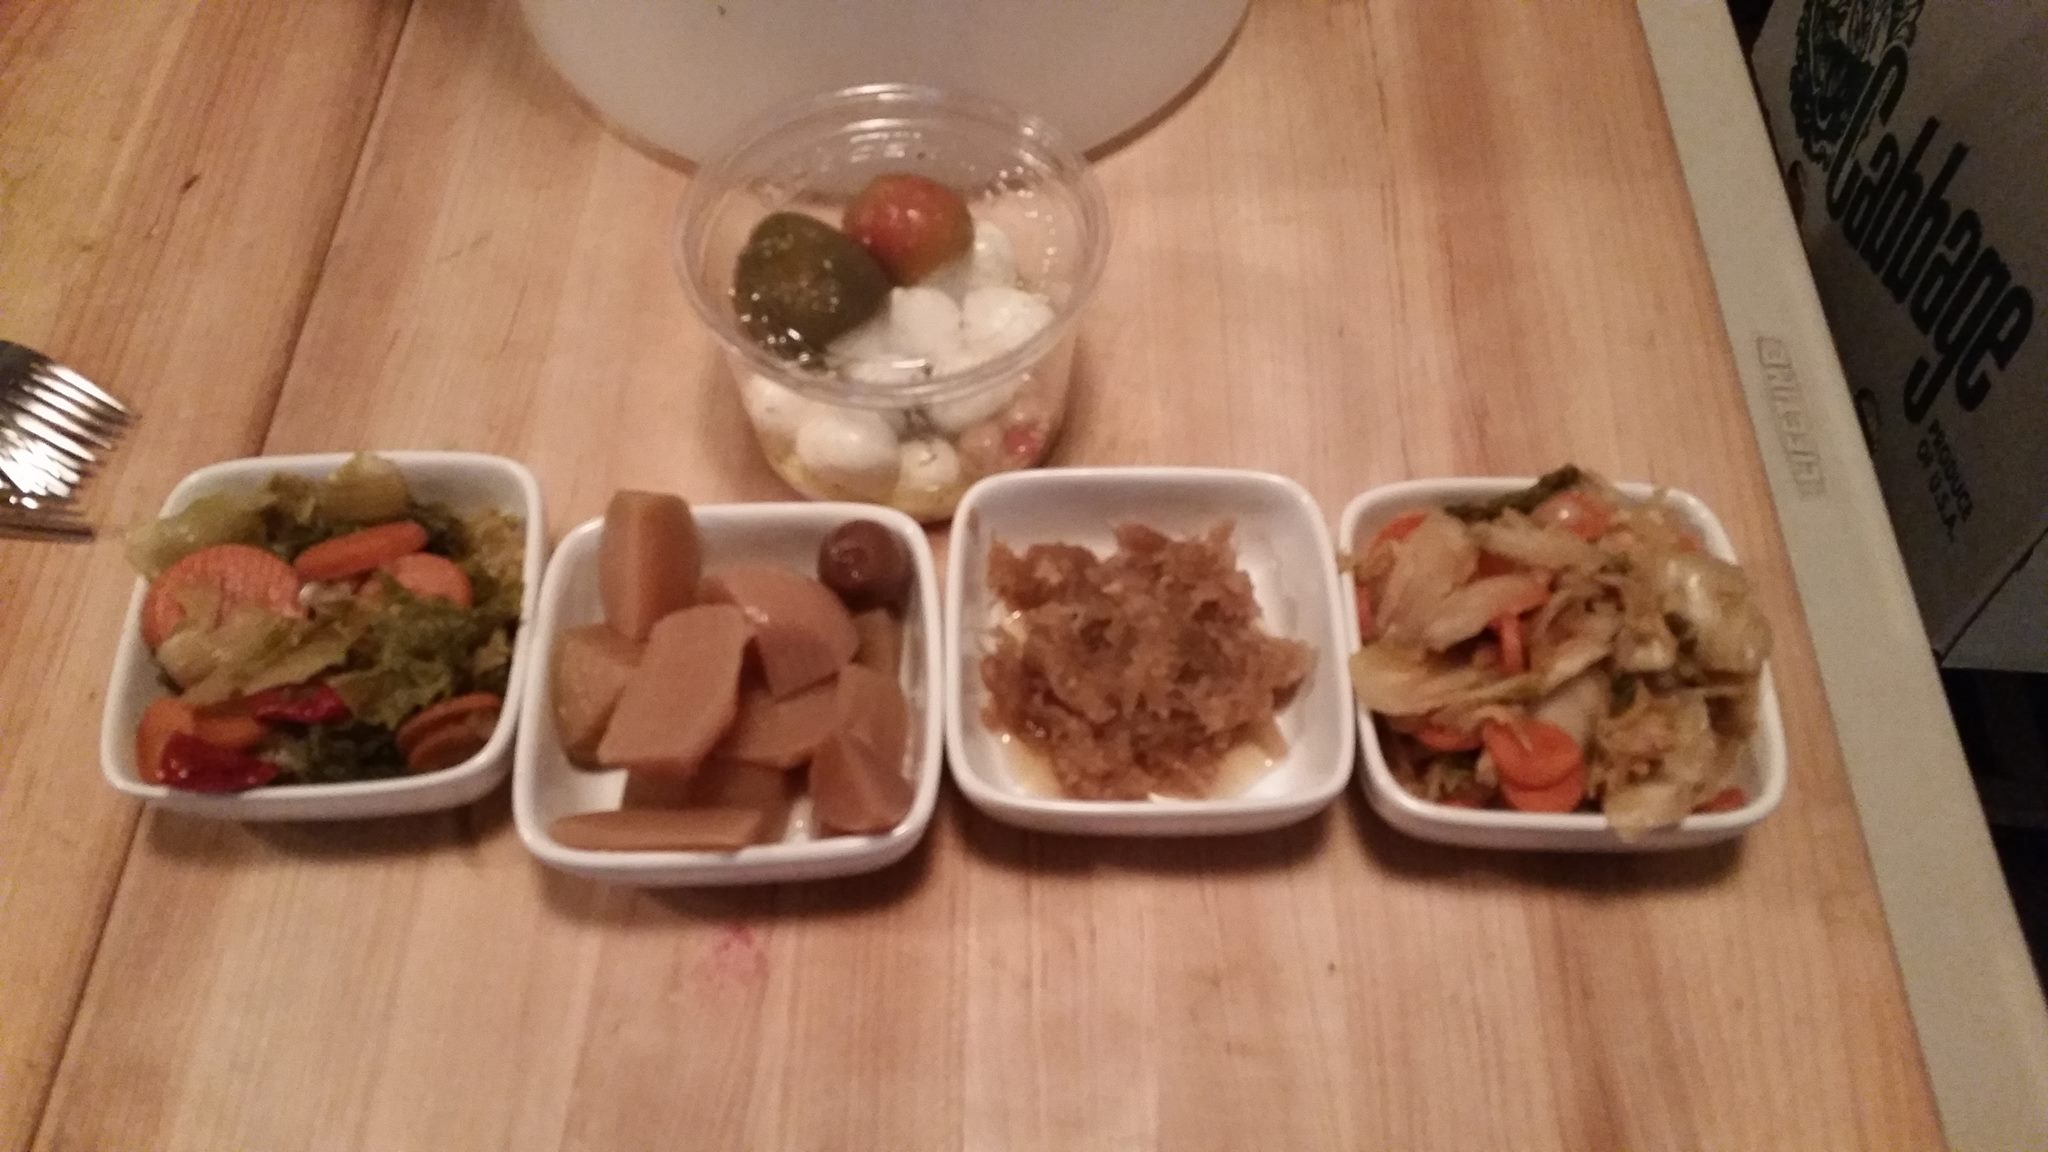
One of the students snapped a few pictures for us before things got muddy – it’s a little hard to take pictures in the building at night, but you can get a general idea of what went on!

Chef Lyndsay preps some fresh bread for snacking during class
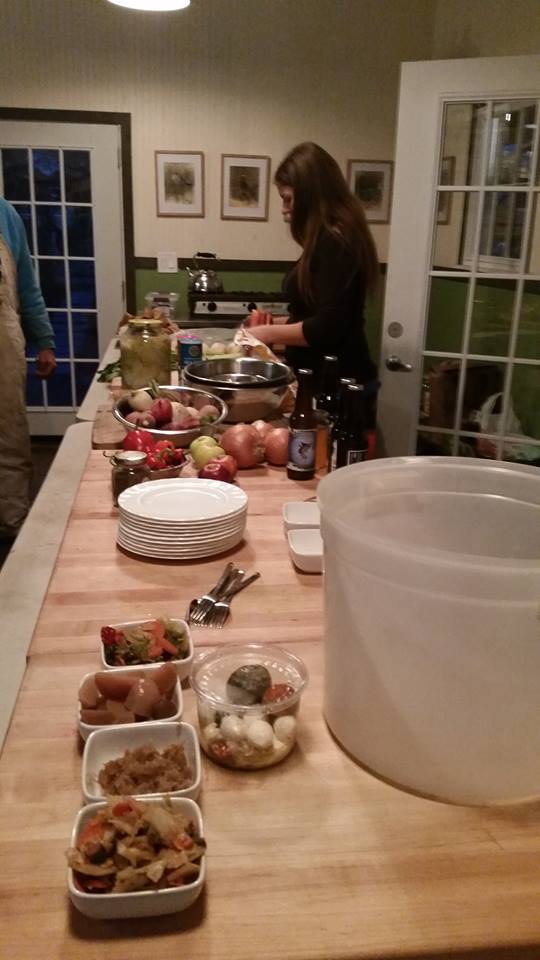
Lots of big Boos boards for chopping – they donated six to our Food Lab, very generously!

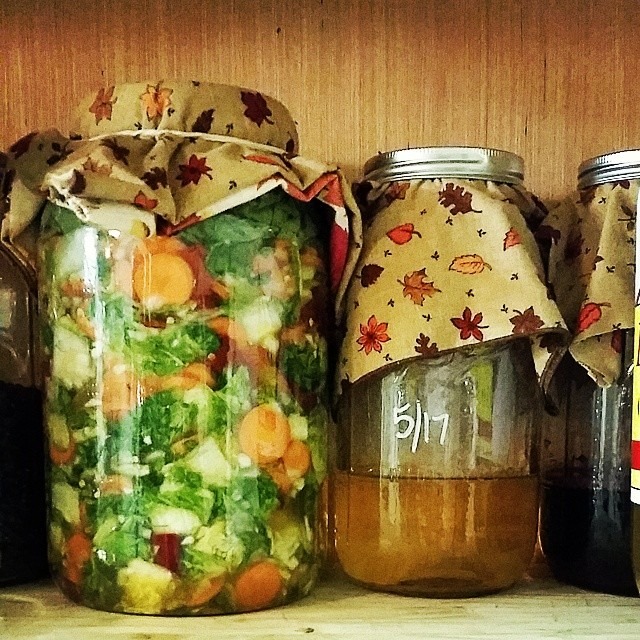
A rather blurry picture of some of our fermented vegetables, ranging between six months to two years old.

That old pickle jar is full of small heads of cabbage drowning in saltwater.
Sauerkraut FAQs from the Food Lab
Download Kraut FAQs and Recipe
1. How long does it take to ferment my kraut in the jar?
It depends on how much salt you added. With more salt, and in colder temperatures, it will take a long time. A light hand on salt, and a warm kitchen – 70 – 85F – and the kraut can go faster, maybe becoming sour in as little as a week or two. I like to leave my krauts to ferment for a few weeks or even months, and then move them to the fridge for another few months. Some purists say the real flavor doesn’t even begin to develop until after six months!
2. How do I know if my kraut went bad?
You’ll know – it will be slimy and moldy, it will stink to high heaven, and nobody could pay you to eat it! If some mold develops on the top of your kraut, don’t be alarmed – gently scoop it off with a spoon, and replace the missing liquid with purified, salted water if necessary (you want your vegetables to stay beneath the brine!). Some of the mold might break off and float away, but just get what you can. The vegetables deep under the brine are still safe for consumption.
3. How much salt do I use?
I really don’t measure the salt – I sprinkle it in as I layer the chopped vegetables before pounding them, and during the summer I tend towards a heavy hand with salt. The lactic acid that the vegetables create are what inhibits the growth of pathogenic bacterias – but lactic acid takes about three days to kick in when fermenting cabbage! That’s what the salt is for – it does the work of inhibiting the pathogens until the lactic acid can do the dirty work. If you really insist on a measurement to get started, you can use about 1-1/2 tablespoons of kosher sea salt per average head of cabbage. Get used to using that amount, and pretty soon you’ll be able to vary up and down per your own preferences.
4. Why kosher salt, or sea salt, or whatever you had said up there?
Use salt that does not contain iodine and anti-caking agents such as yellow prussiate. These tend to make the cabbage slimy and gross.
Download Kraut FAQs and Recipe
This kimchi is covered with a cloth, and a thick layer of brine and jar weights. Generally, I prefer using lids on jars.
Simple Seasonal Sauerkraut
1 organic head of cabbage (Chinese cabbage, green cabbage, it doesn’t matter)
1 to 1-1/2 tablespoons sea salt, approximately
Optional: caraway seeds, turmeric, peeled and crushed garlic, peeled and shredded ginger, small amount of dried or shredded fruit (about ½ cup or less), other vegetables cut, shredded, julienned, diced or sliced the way you like them
1. Shred or coarsely chop cabbage; place in a metal or plastic bowl that won’t break and sprinkle with salt.
2. Firmly massage with your hands, or pound with a wooden mallet or the end of a rolling pin for about ten minutes, until the cabbage is very juicy and wet. When you start pounding, you may think “I’ll have to add water to this to get enough brine to cover it!” If you’re using nice, fresh cabbage, just keep on pounding till that ten minute mark. You may be surprised how much brine will leak out of that cabbage!
3. Mix in any other spices, herbs, vegetables or fruits that you like. I tend to keep the “other” ingredients at less than 50% of the volume, usually well below that, so my krauts are mostly cabbage.
4. Pack it all into a large jar or multiple jars, pressing the vegetables down so the brine covers them completely. Pieces that poke out or float will probably be thrown away when you open the jar to eat the kraut, so really smash it down firmly!
5. To keep everything beneath the brine, you can add small jar weights (available from Cultures for Health, Britt’s Live Culture Foods and other places), or use the stem end of the cabbage to wedge in to the top of the jar.
6. Place the jar on the counter in a rimmed baking sheet or pan to catch any juices that may leak out; you will need to pop the lid once or even twice a day for a few days. Depending on how warm your house is (70 – 80F is a happy place for fermenting!), you can taste test it as soon as three days; it may take up to a few weeks. If you don’t want it on your counter that long, you can move it to the fridge and let it slow ferment for a lo-o-o-ong time!)
Kraut will last months and even years in a cool place. My favorite ones are at least a year old. Some traditions say the true kraut flavor does not even begin to develop until after six months!
Adding caraway seeds, turmeric or even a few tablespoons of raw, cultured whey will help reduce the risk of your kraut molding.
Download Kraut FAQs and Recipe

A batch of kimchi, ready to move into the fridge for cold storage and spicy snacking!
Bacterially yours,
Mrs H
My phone was stolen so I haven’t grammed you in a while!
Hunt us down on Facebook – we “like” that!
Recommended Reading
I’m always building up my fermenting library (and you will be, too, with all the book giveaways I have coming up!). These are some of my long-standing, time-tested favorites. Just reading them makes me all giggly and happy inside – and of course, the wealth of knowledge that can be gleaned by cross-examining all the books should not be underestimated!
The Art of Fermentation: An In-Depth Exploration of Essential Concepts and Processes from around the World
Wild Fermentation: The Flavor, Nutrition, and Craft of Live-Culture Foods
Asian Pickles: Sweet, Sour, Salty, Cured, and Fermented Preserves from Korea, Japan, China, India, and Beyond
Nourishing Traditions: The Cookbook that Challenges Politically Correct Nutrition and the Diet Dictocrats
Kombucha Revolution: 75 Recipes for Homemade Brews, Fixers, Elixirs, and Mixers
The Nourished Kitchen: Farm-to-Table Recipes for the Traditional Foods Lifestyle Featuring Bone Broths, Fermented Vegetables, Grass-Fed Meats, Wholesome Fats, Raw Dairy, and Kombuchas


![IMG_20150921_073317[1]](https://farmandhearth.files.wordpress.com/2015/10/img_20150921_0733171.jpg)
![IMG_20150928_095615[1]](https://farmandhearth.files.wordpress.com/2015/10/img_20150928_0956151.jpg)